前言: 关于之前的冷文图床
是白嫖码云仓库作为存储空间的,这东西要是分享出去了感觉不大好,所有就没有给源码。
有能力的小伙伴可以参考:传送门进行开发
本文: 冷文图床(腾讯COS)-个人版
所以今天就给大家分享一款基于腾讯COS的图床,腾讯COS每个用户有6个月50G的免费额度的,而且直接买也很便宜,按照自己需求购买,一年按100W次请求20G存储来买也就30块钱
准备
- linux 服务器(虚拟机为例)
- 域名(非必需)
搭建步骤
1.修改yum源(CentOS)
vim /etc/yum.repos.d/CentOS-Base.repo# CentOS-Base.repo
#
# The mirror system uses the connecting IP address of the client and the
# update status of each mirror to pick mirrors that are updated to and
# geographically close to the client. You should use this for CentOS updates
# unless you are manually picking other mirrors.
#
# If the mirrorlist= does not work for you, as a fall back you can try the
# remarked out baseurl= line instead.
#
#
[base]
name=CentOS-$releasever - Base
baseurl=https://mirrors.tuna.tsinghua.edu.cn/centos/$releasever/os/$basearch/
#mirrorlist=http://mirrorlist.centos.org/?release=$releasever&arch=$basearch&repo=os
enabled=1
gpgcheck=1
gpgkey=file:///etc/pki/rpm-gpg/RPM-GPG-KEY-7
#released updates
[updates]
name=CentOS-$releasever - Updates
baseurl=https://mirrors.tuna.tsinghua.edu.cn/centos/$releasever/updates/$basearch/
#mirrorlist=http://mirrorlist.centos.org/?release=$releasever&arch=$basearch&repo=updates
enabled=1
gpgcheck=1
gpgkey=file:///etc/pki/rpm-gpg/RPM-GPG-KEY-7
#additional packages that may be useful
[extras]
name=CentOS-$releasever - Extras
baseurl=https://mirrors.tuna.tsinghua.edu.cn/centos/$releasever/extras/$basearch/
#mirrorlist=http://mirrorlist.centos.org/?release=$releasever&arch=$basearch&repo=extras
enabled=1
gpgcheck=1
gpgkey=file:///etc/pki/rpm-gpg/RPM-GPG-KEY-7
#additional packages that extend functionality of existing packages
[centosplus]
name=CentOS-$releasever - Plus
baseurl=https://mirrors.tuna.tsinghua.edu.cn/centos/$releasever/centosplus/$basearch/
#mirrorlist=http://mirrorlist.centos.org/?release=$releasever&arch=$basearch&repo=centosplus
gpgcheck=1
enabled=0
gpgkey=file:///etc/pki/rpm-gpg/RPM-GPG-KEY-72.安装宝塔
yum install -y wget && wget -O install.sh http://download.bt.cn/install/install_6.0.sh && sh install.sh3.安装LNMP与java运行环境
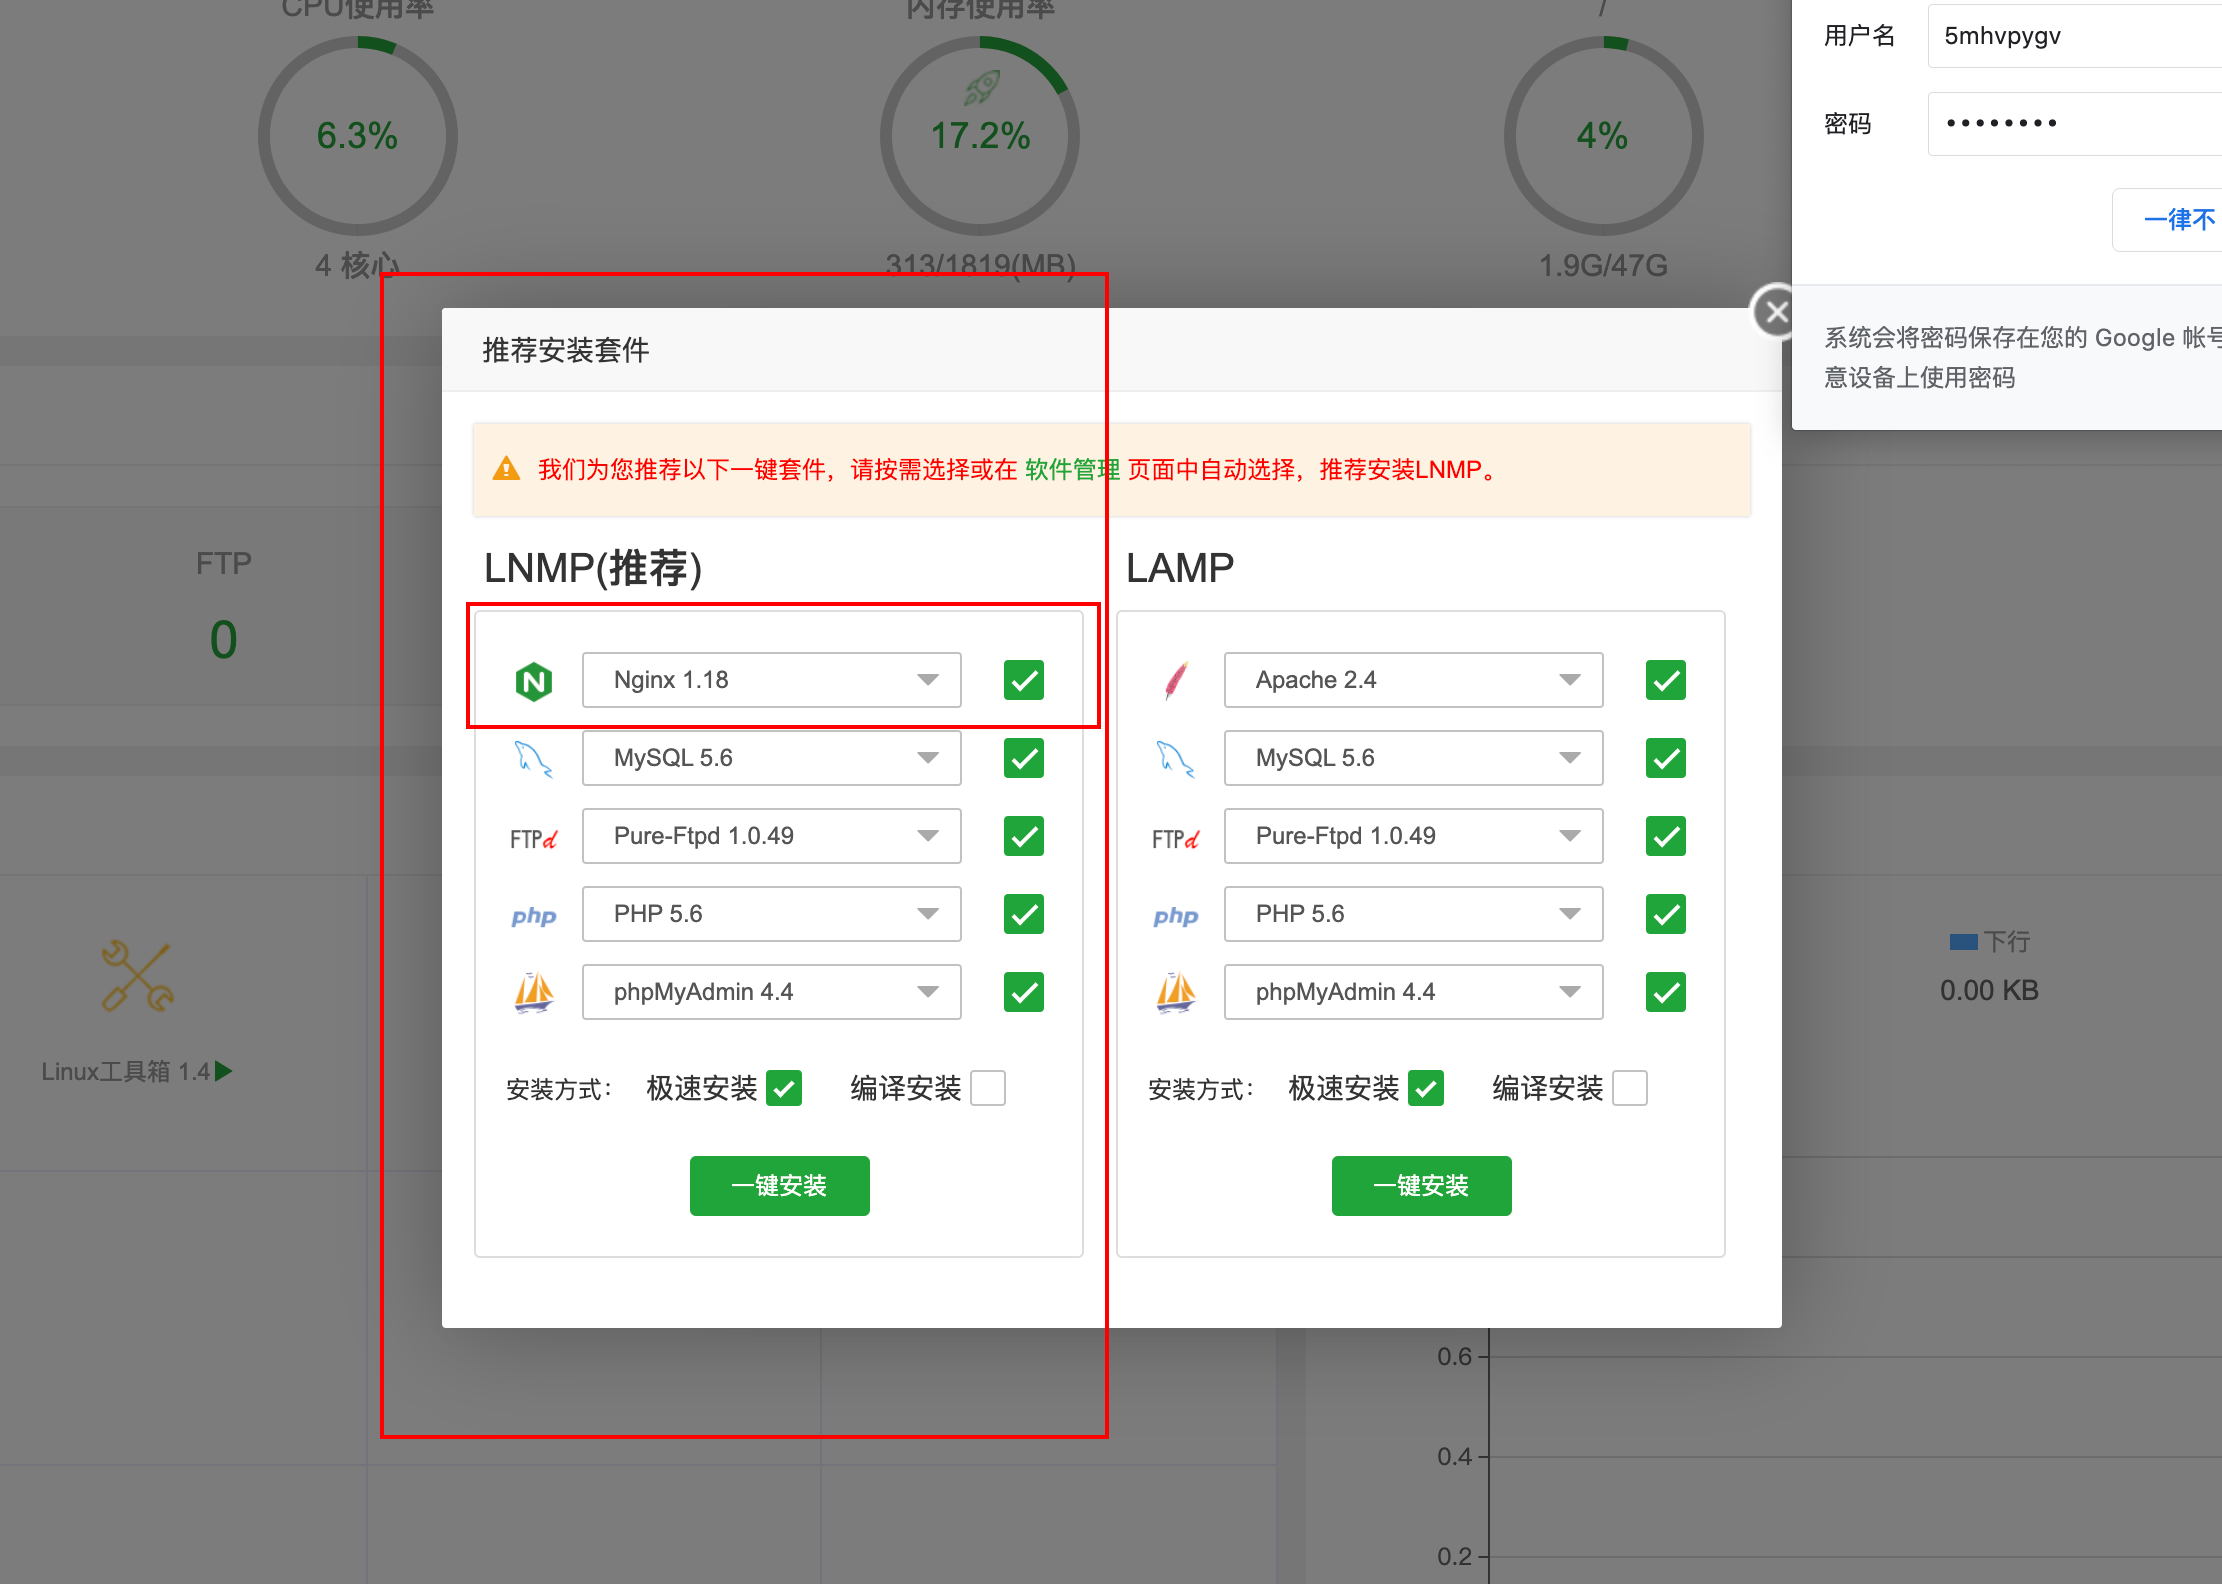
安装LNMP
安装java运行环境
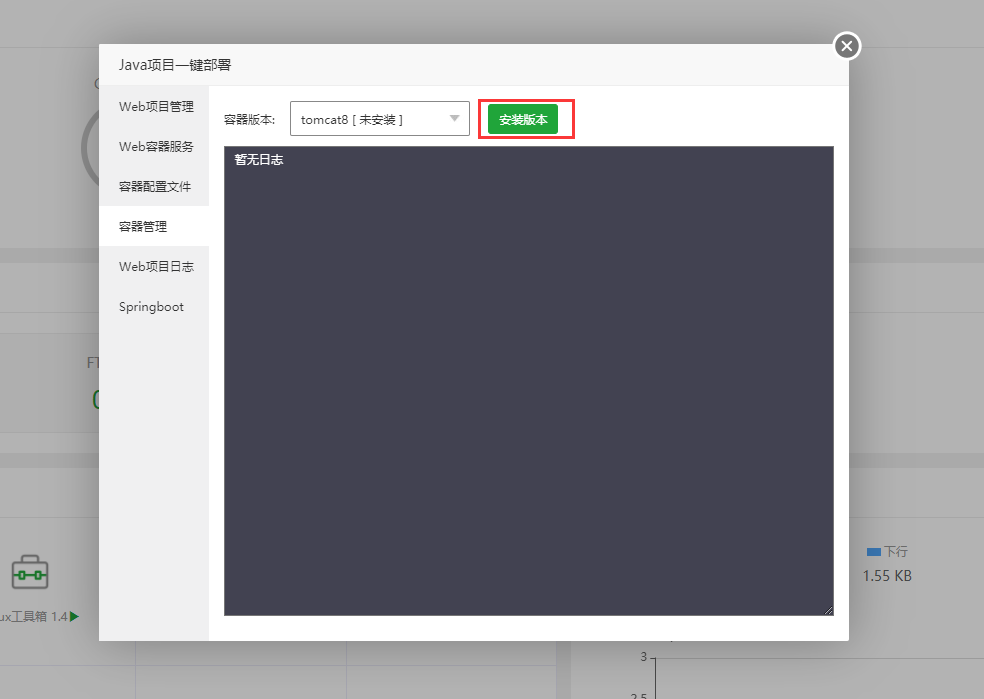
在宝塔的软件商店找到java一键部署点击安装

安装完成之后在里面安装tomcat8,宝塔上装的tomcat8自带jdk8
安装maven
执行如下命令开始安装
yum install -y maven修改maven源为阿里云
<?xml version="1.0" encoding="UTF-8"?>
<settings xmlns="http://maven.apache.org/SETTINGS/1.0.0"
          xmlns:xsi="http://www.w3.org/2001/XMLSchema-instance"
          xsi:schemaLocation="http://maven.apache.org/SETTINGS/1.0.0 http://maven.apache.org/xsd/settings-1.0.0.xsd">
  <!-- 本地仓库地址 -->
  <localRepository>/root/maven-repository</localRepository>

  <pluginGroups></pluginGroups>
  <proxies></proxies>
  <servers></servers>

  <!-- 阿里云maven源 -->
  <mirrors>
    <mirror>
      <id>alimaven</id>
      <mirrorOf>central</mirrorOf>
      <name>aliyun maven</name>
      <url>http://maven.aliyun.com/nexus/content/groups/public/</url>
    </mirror>
  </mirrors>
  <!-- jkd版本配置 -->
  <profiles>
    <profile>
      <id>jdk-1.8</id>
      <activation>
        <activeByDefault>true</activeByDefault>
        <jdk>1.8</jdk>
      </activation>
      <properties>
        <maven.compiler.source>1.8</maven.compiler.source>
        <maven.compiler.target>1.8</maven.compiler.target>
        <maven.compiler.compilerVersion>1.8</maven.compiler.compilerVersion>
      </properties>
    </profile>
  </profiles>
</settings>
4.下载并编译程序
地址: Github:传送门
执行如下命令开始下载
cd ~ && git clone https://github.com/kevinlu98/lw-imagebed.git && cd lw-imagebed修改配置(配置文件中的配置信息具体怎么来视频中有演示)
vim src/main/resources/application-prod.ymllogging:
file:
path: /Users/lengwen/Code/java/lw-imagebed/logs
level:
root: info
swagger:
enable: true
user:
username: 用户名
password: 密码
tencent:
cos:
bucketName: COS桶名称
region: COS地域
urlPrefix: 图片外链前缀,可从腾讯云查看
secretId: 你自己的腾讯密钥ID
secretKey: 你自己的腾讯密钥Key
website:
title: 站点标题
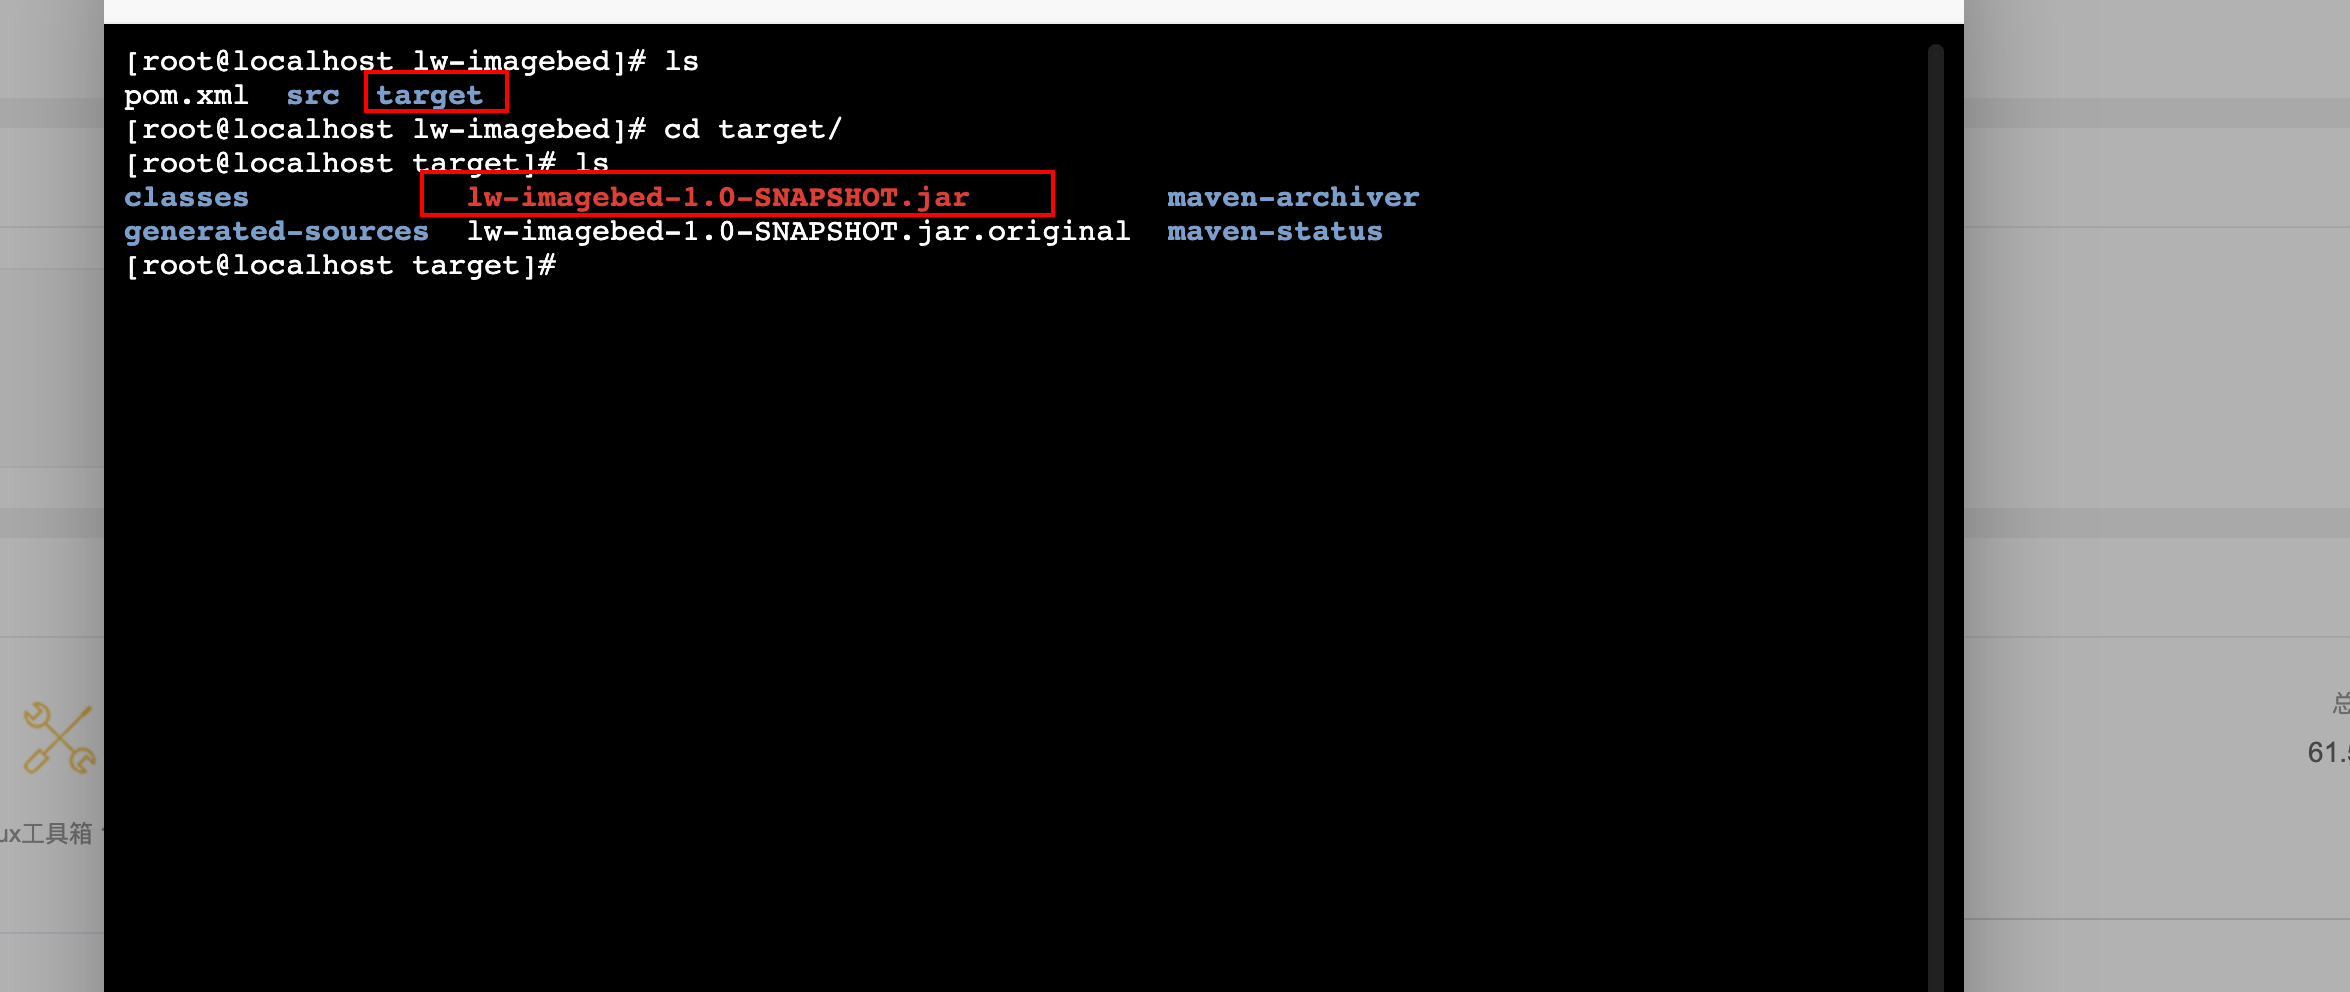
编译打包
mvn package -P prod打完包看到有如图文件即为成功
5..创建站点
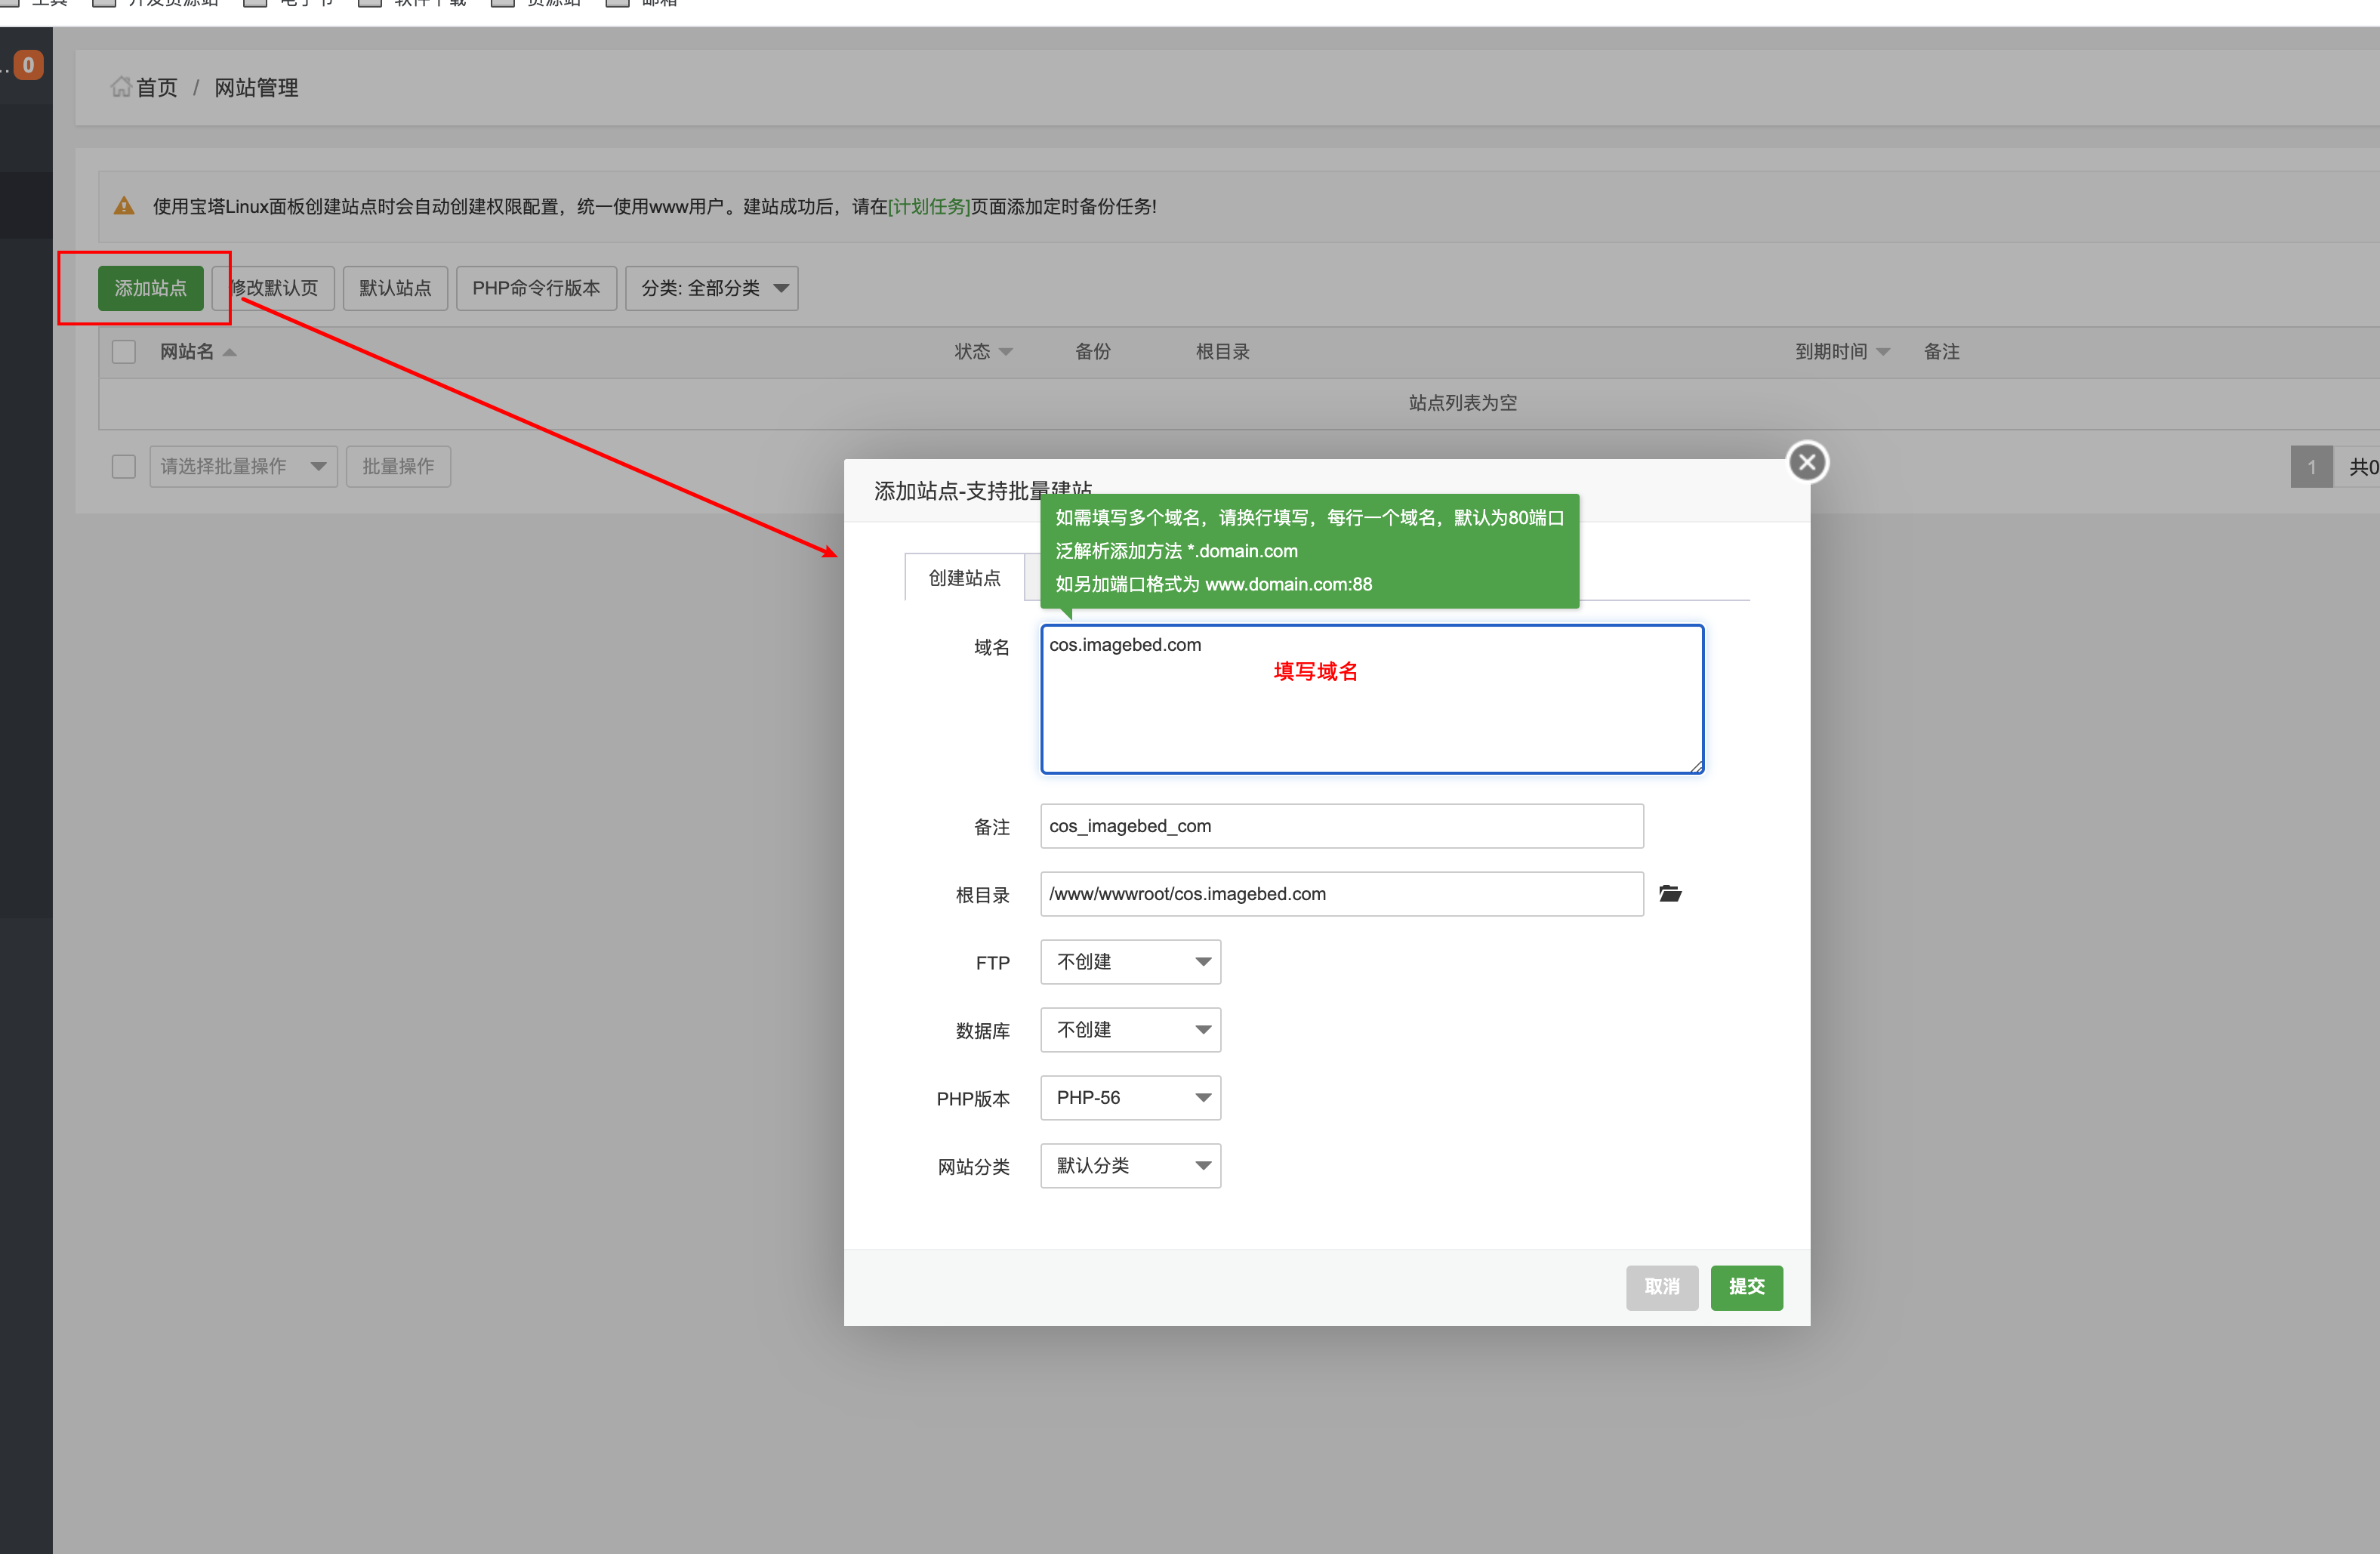
新建站点
·进入站点文件夹并清空
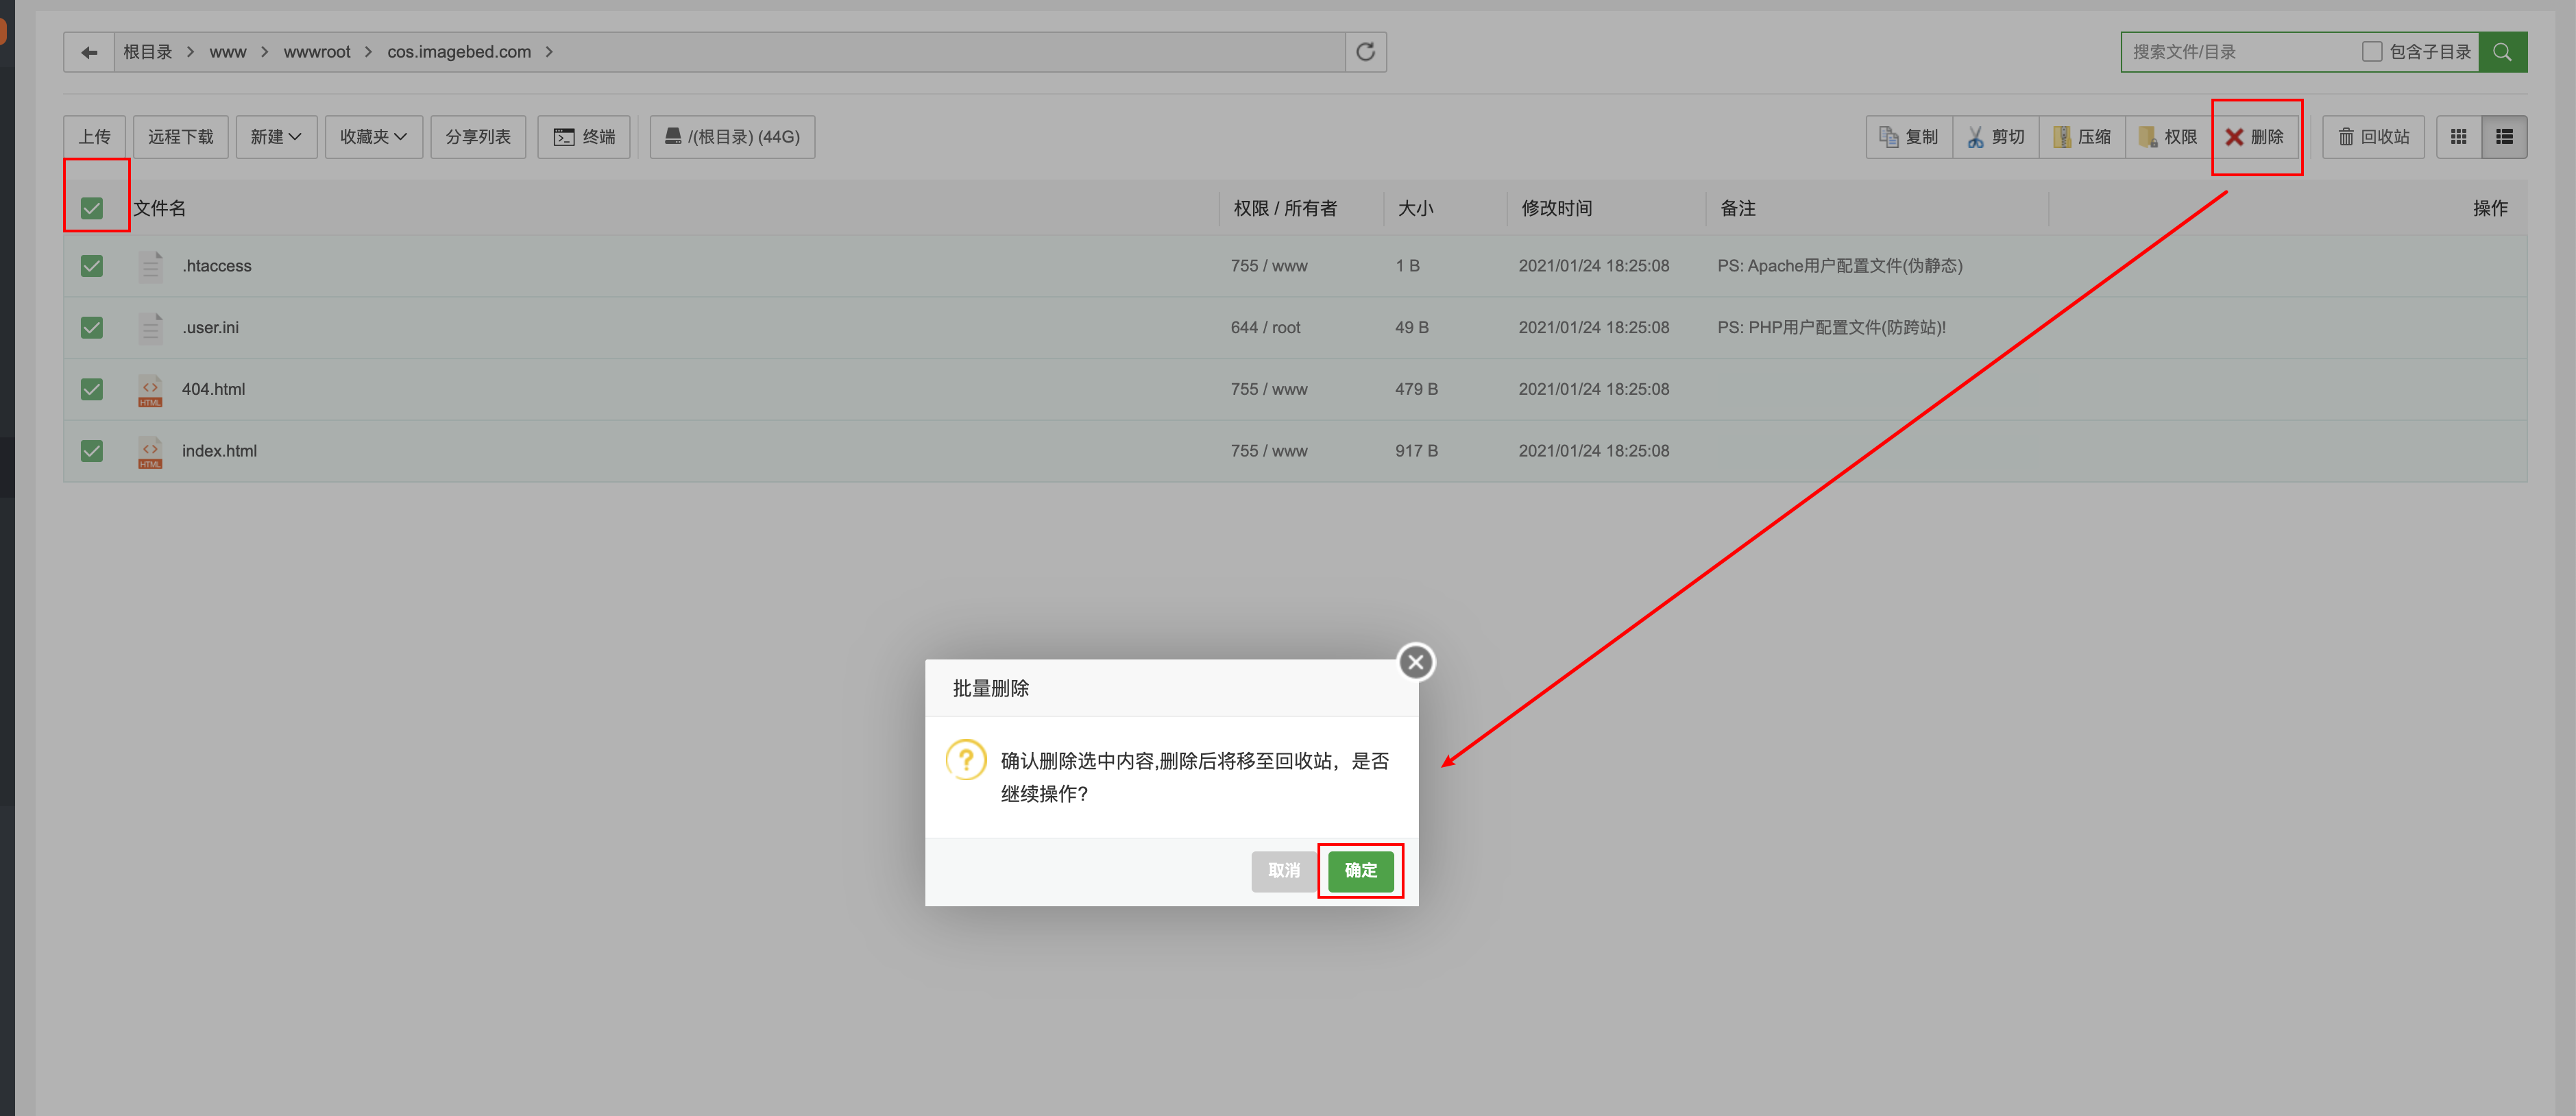
将刚刚编译的jar包复制过来
cp ~/lw-imagebed/target/lw-imagebed-1.0-SNAPSHOT.jar .6.安装screen
因为java项目用命令执行,退出会话后就自动关闭民,所以需要一个会话管理工具
输入命令安装screen
yum install screen -y创建screen会话
screen -S imagebed显示所有screen会话
screen -ls进入screen会话
screen -r imagebed运行程序
java -jar lw-imagebed-1.0-SNAPSHOT.jar 按Ctrl +a +d 即可退出screen
7.设置反向代理
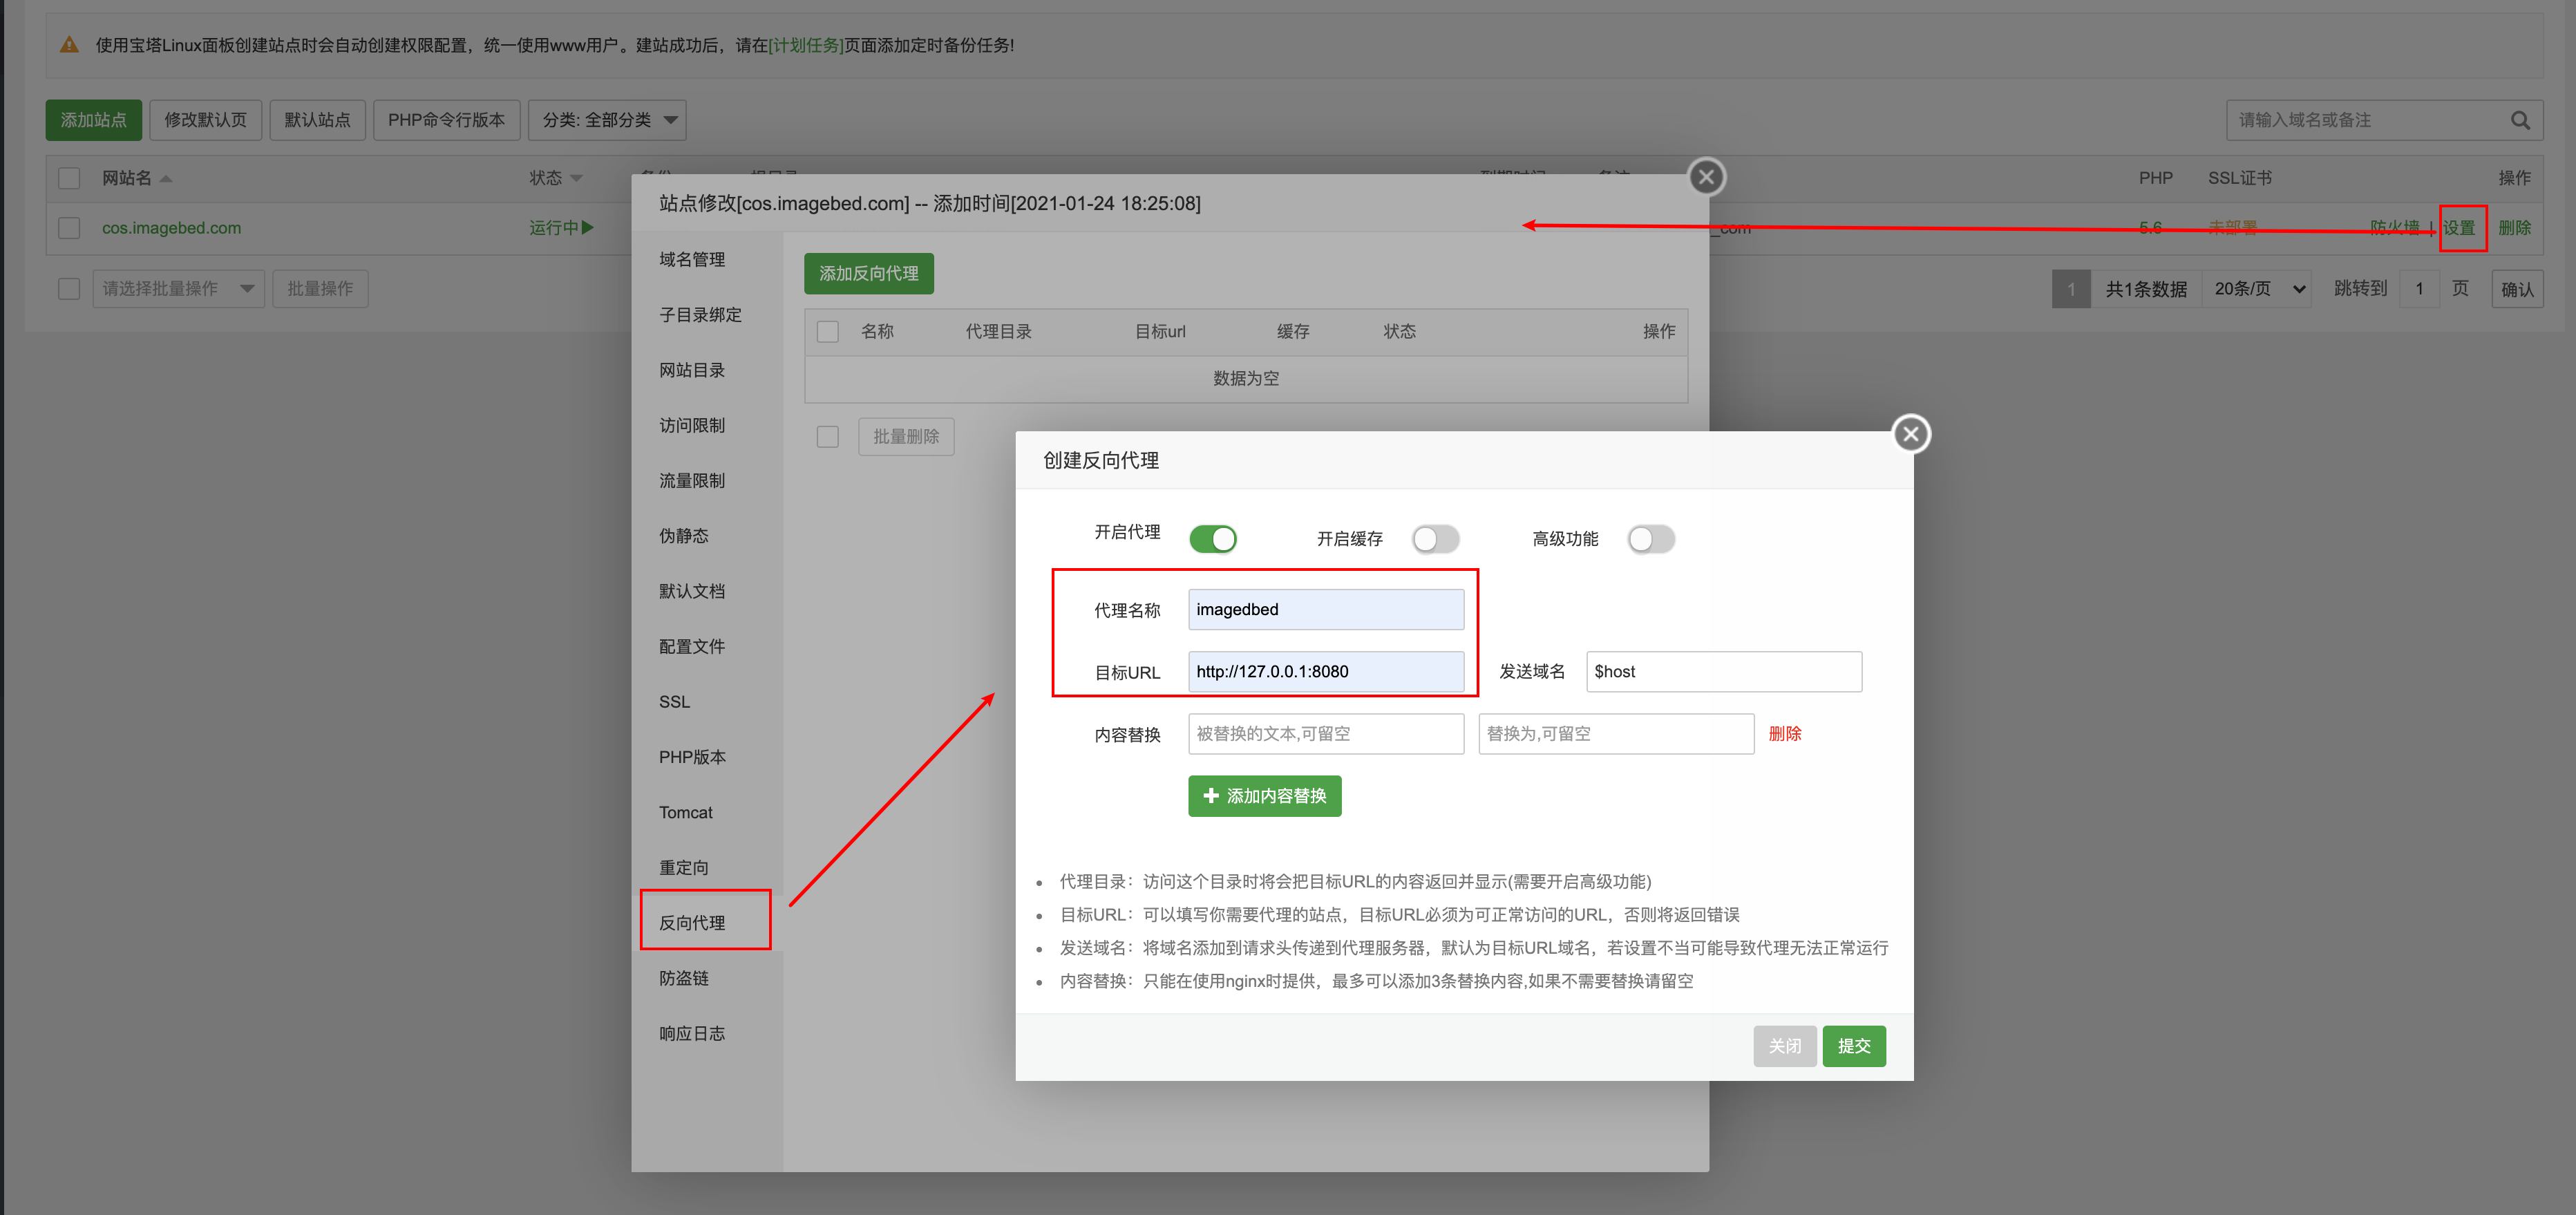
成功
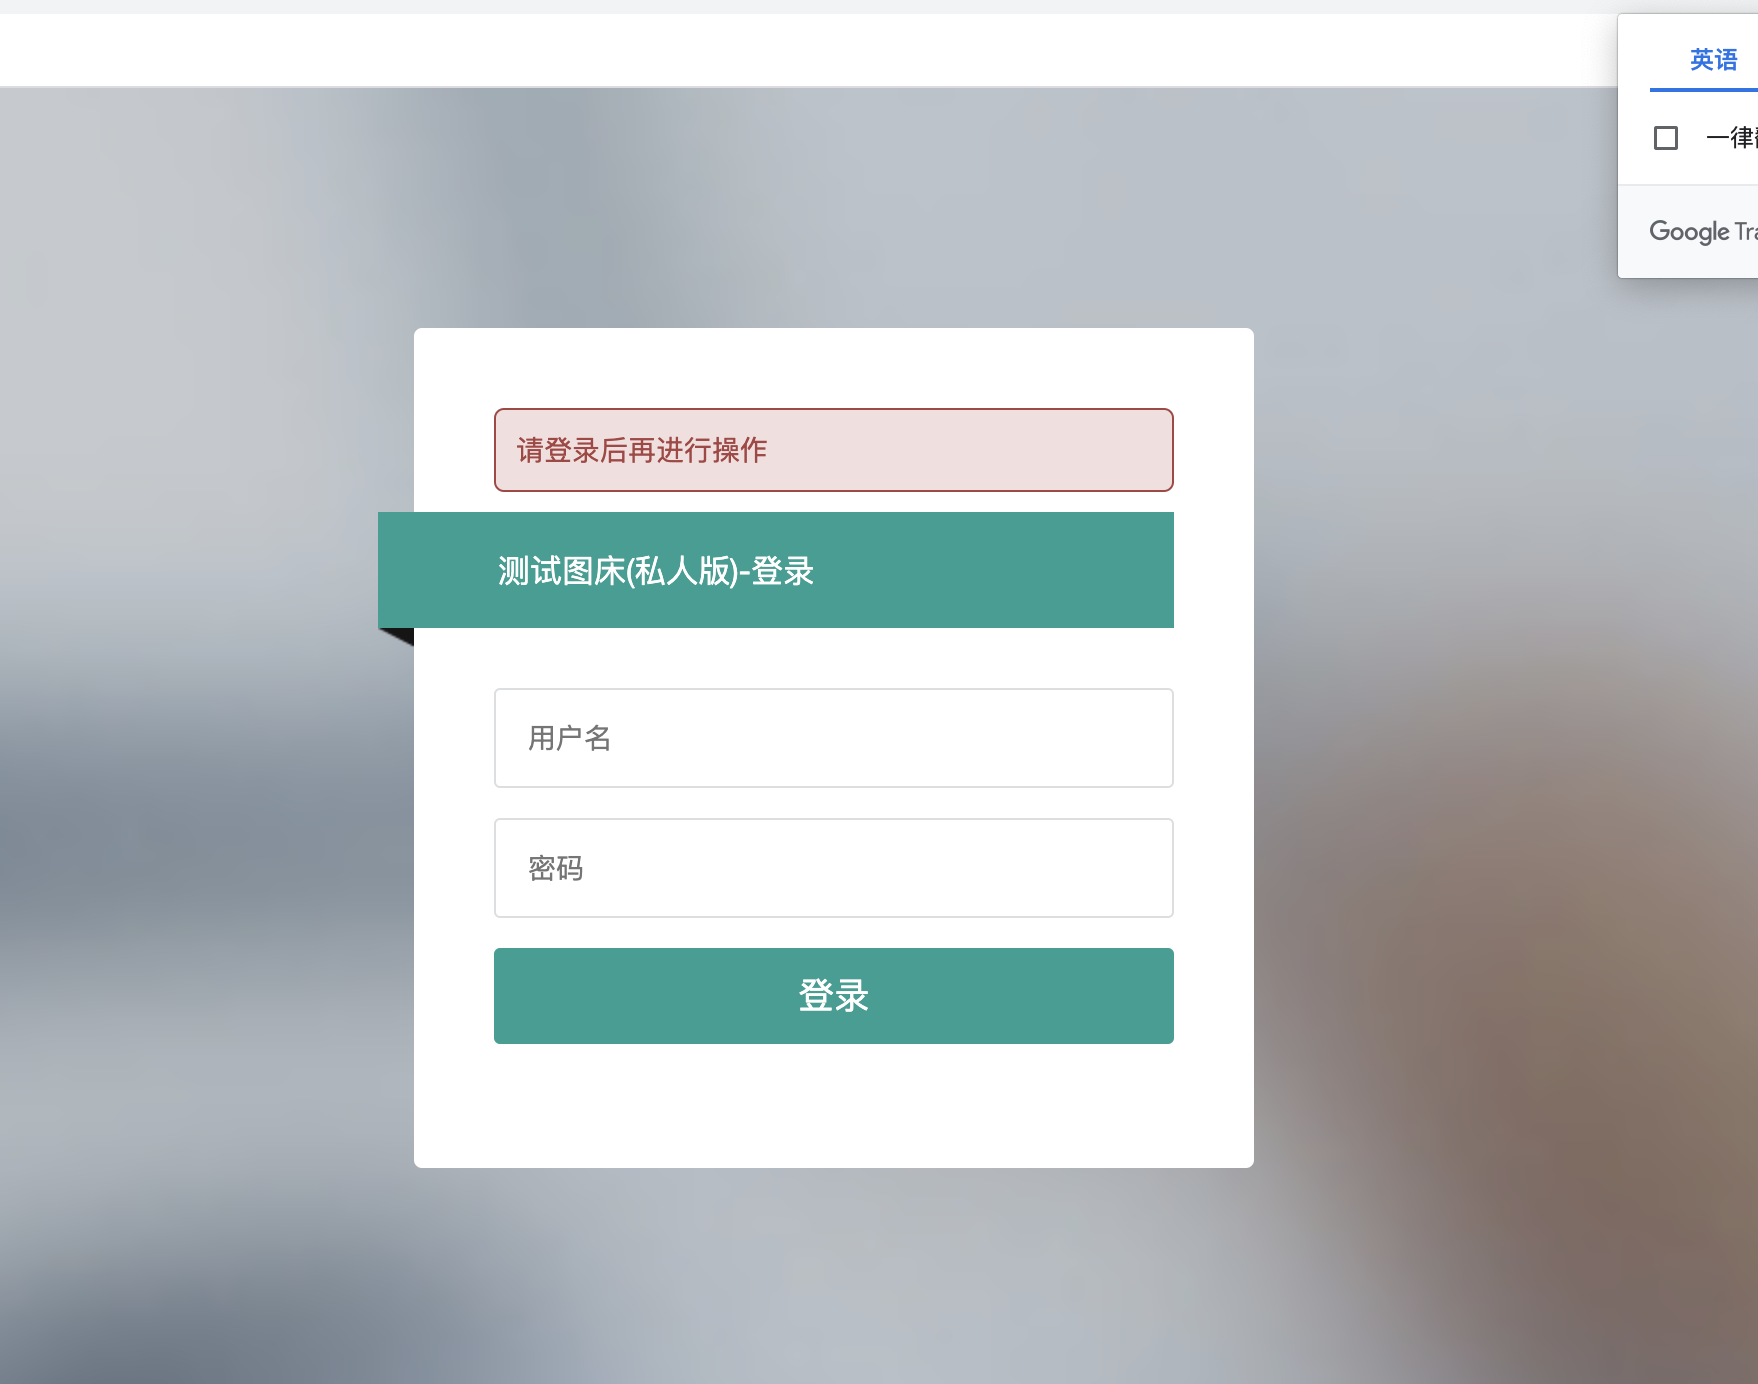
输入域名访问出现如下页面
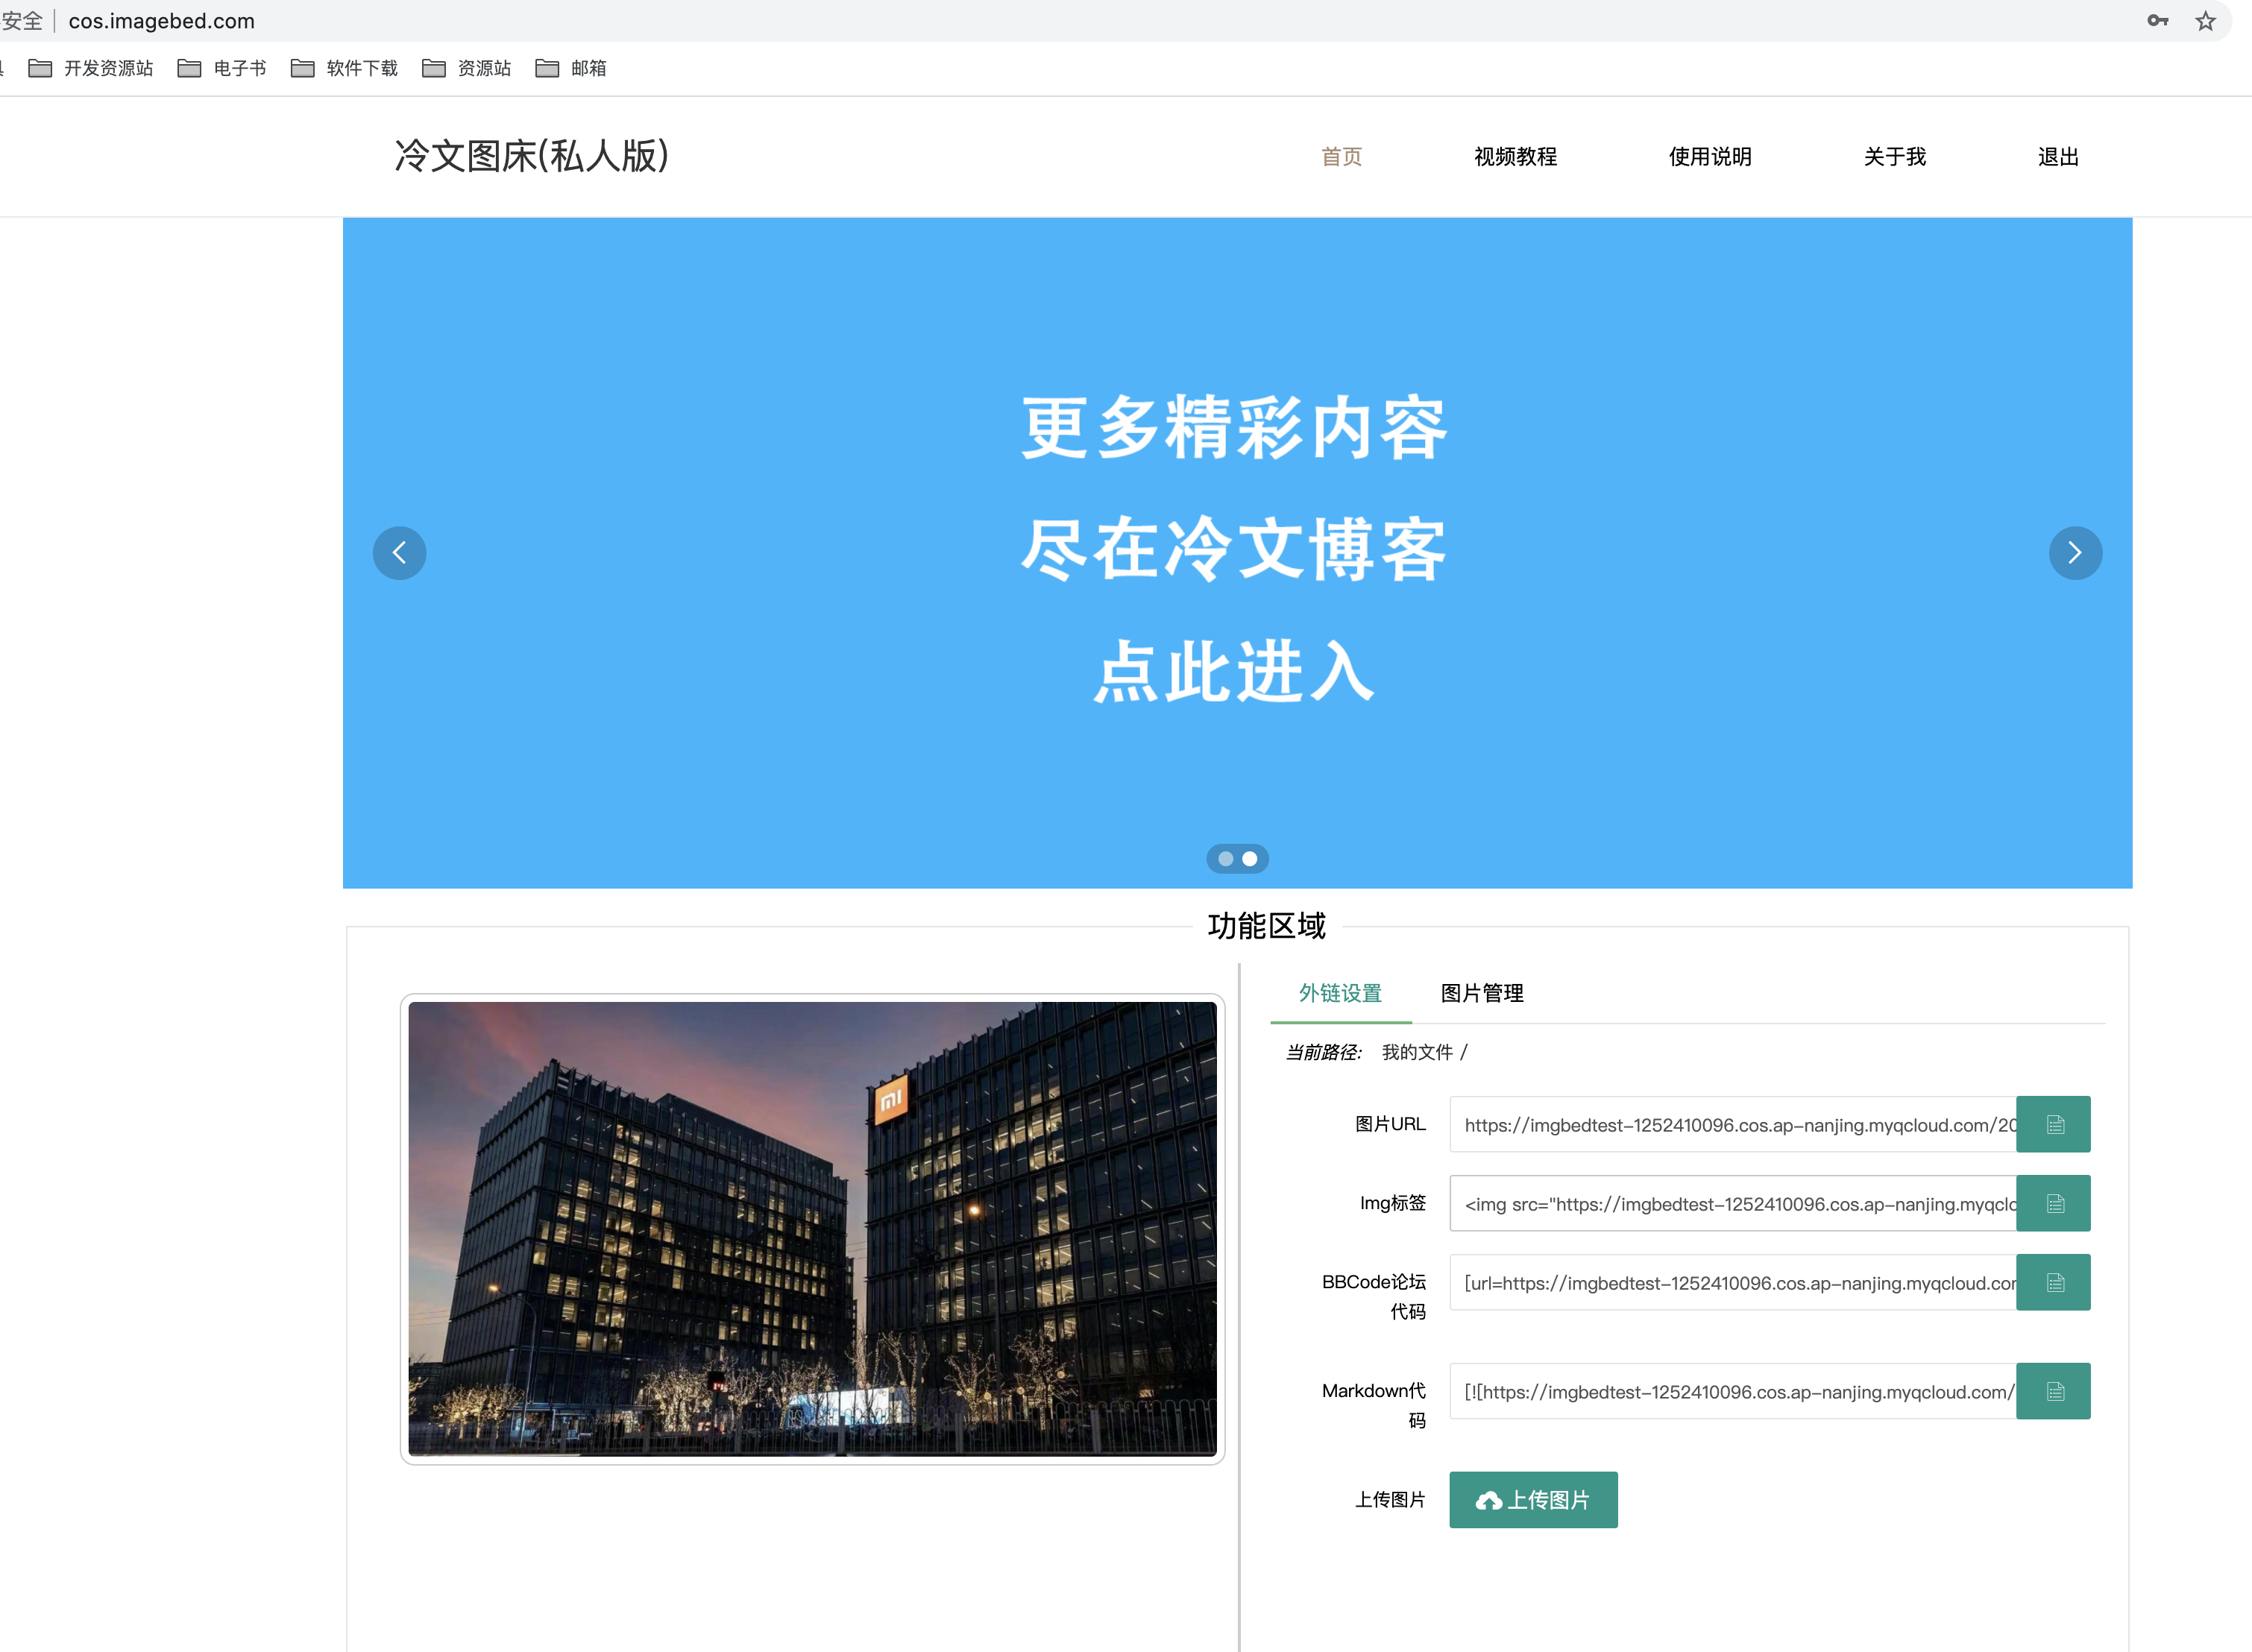
测试上传没问题


我喜欢, 这里分享真实经验。你的项目 就是 最好的例子。请继续。
美好的 博客内容! 继续创作。
素材精彩极了。由衷感谢 带来的灵感。
支持,下载瞧瞧效果
非常有用的 旅行博客, 不要停下 方向正确。衷心感谢.